Wireless Time Machine Backups with Synology on macOS
Veröffentlicht am 28. 10. 2021 von mir
There is one thing Apple has done right for the Mac for over a decade now: the Time Machine backup system.
Time Machine comes system built-in on every Mac and does two things out of the box. For one it allows you to (preferably automatically) backup your whole file system - yes the macOS system including all your files, every byte so to say. That allows you to trash, lose, break your Mac and all you have to do is get a new Mac and upload your latest backup and you can start where you left off with your old device. All your tools, your software is back where it belongs. On the other hand, and this can get very useful if you use your Mac professionally, Time Machine allows you to go (oh wonder) back in time and look for older versions of your files. Let's say you accidentally deleted a file a week ago and only now catch onto it - hook up to your Time Machine and look into your past file system to get back to your old files and retrieve them. That aside, it is the only responsible thing to do to backup your computer - Mac or PC.
Why you should do backups
Theft: Someone could steal your MacBook
Damage: Even though very reliable, Macs can break too. Apple devices are not exempt from data loss
Deletion: Mistakes happen, accidentally deleting or changing files you desperately need happens to everyone from time to time
Cyber Crime: Viruses, Ransomware, etc. exist on macOS too, even though in a much smaller number. Still, such a scenario could cause data loss.
There are many more scenarios in which a backup is an absolute life saver. But these 4 reasons are not uncommon. For what it’s worth, if you use Mac, even if it may be an iMac, please do yourself the favour and make regular backups. The moment will come where you’ll be thankful.
Standard Setup for Time Machine
The most common way to use Apple’s Time Machine system is to plug in a hard drive, with at least as much space as your “Macintosh HD” – file system drive and setup Time Machine in your System Settings.
I do not recommend that. For several reasons:
You always need to manually plug in your backup hard drive: annoying
For the same reason as 1. you probably won’t do backups that often: a week old backup can lead to a week of lost work
Going back in time to retrieve older versions of a file can be useful on many occasion, so having to hook up your time machine backup drive every time you want to recover files is quite a pain
Wireless Time Machine Backups
It is safe to assume that every Mac user has access to a wireless network at home or at their office/workspace. This is why there is no reason not to do backups wirelessly and automatically. What you need for that is a NAS, a Network Attached Storage. A NAS is basically a hard drive that you can access over your local network. Time Machine works perfectly fine with NAS’s and there are only advantages. Ok, one disadvantage: it gets a little costlier, but it’s a worthwhile investment.
Check your network
To make sure that this setup is the right choice for you, make sure your router/switch + WiFi support gigabit ethernet. This ensures that backups don’t take too long and browsing the Time Machine files goes rather smoothly. Also you should have access to your routers settings, we will need it later on.
Best choice for a NAS
There is an abundance of NAS’s available on the market. However I have had my Synology 2 bay NAS for 5 years now and it is running smoothly ever since. I haven’t even had to change the hard drives yet. Synology devices are rather user friendly and even for non techies it should be no problem to set them up. There is an abundance of different NAS systems and manufacturers so I am going to demonstrate you my exact setup that has been working properly for years now. The more you know what you need or want you’ll want to adapt the setup to your situation.
The reason I chose a 2-bay NAS is simple: Backup drives fail too. So what I do is i run my drives in a so called RAID1. That basically means both disks inside the Synology are mirrored. Should one of the drives fail – which will eventually happen after years of usage – you can simply replace that drive with a new one and the NAS will mirror it again. This provides a most probably uninterrupted backup solution.
My choice: Synology DS218j – the cheapest option for a Synology NAS holding 2 hard drives, or simply the latest version of Synology's 2bay systems.
There are countless other manufacturers out there, however Synology has great documentation and customer support. I suggest you go with them when it comes to Macs.
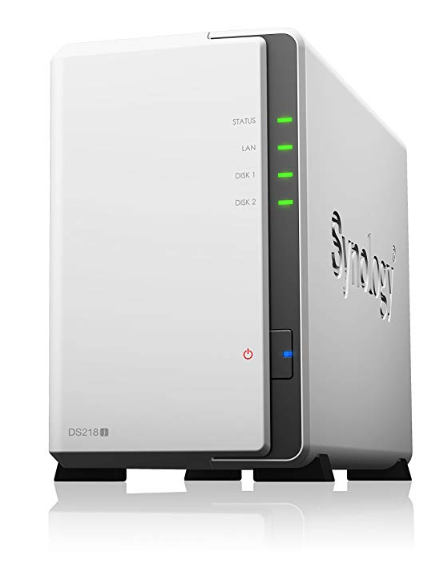
Synology-DS218j
Hard drives for network attached storages
For HD’s I recommend Western Digital RED‘s. Don’t save money on hard drives. WD RED’s are made specifically for NAS’s – to last longer and stand the vibrations from years of running inside a NAS case. Also they grant you a 3 year warranty. Depending on how large your Mac’s internal HD/SSD really is you should consider the size of your backup drives. I recommend at least double the space for your Backup drives.
Also keep in mind, the larger the backup drives, the further you can go back in time to retrieve old files. If Time Machine runs out of space it will automatically delete the oldest backup to free space. So if you want to be able to go back for a long long time (potentially years) choose 10TB drives and have a go at it. Keep in mind the DS218j can manage 10TB drives at max.
Setup your NAS
First you need to put it all together. A screw driver is probably all you need. The setup is really easy and won’t take longer than half an hour. Synology’s documentation from page 6 to 9 says it all.
After that you directly plug it into your router via a LAN cable. Make sure it is at least category 5e. It should say it right on the cable itself. Cat 5 or lower would result in a bottle neck for the NAS and reduce the maximum possible read/write speed.
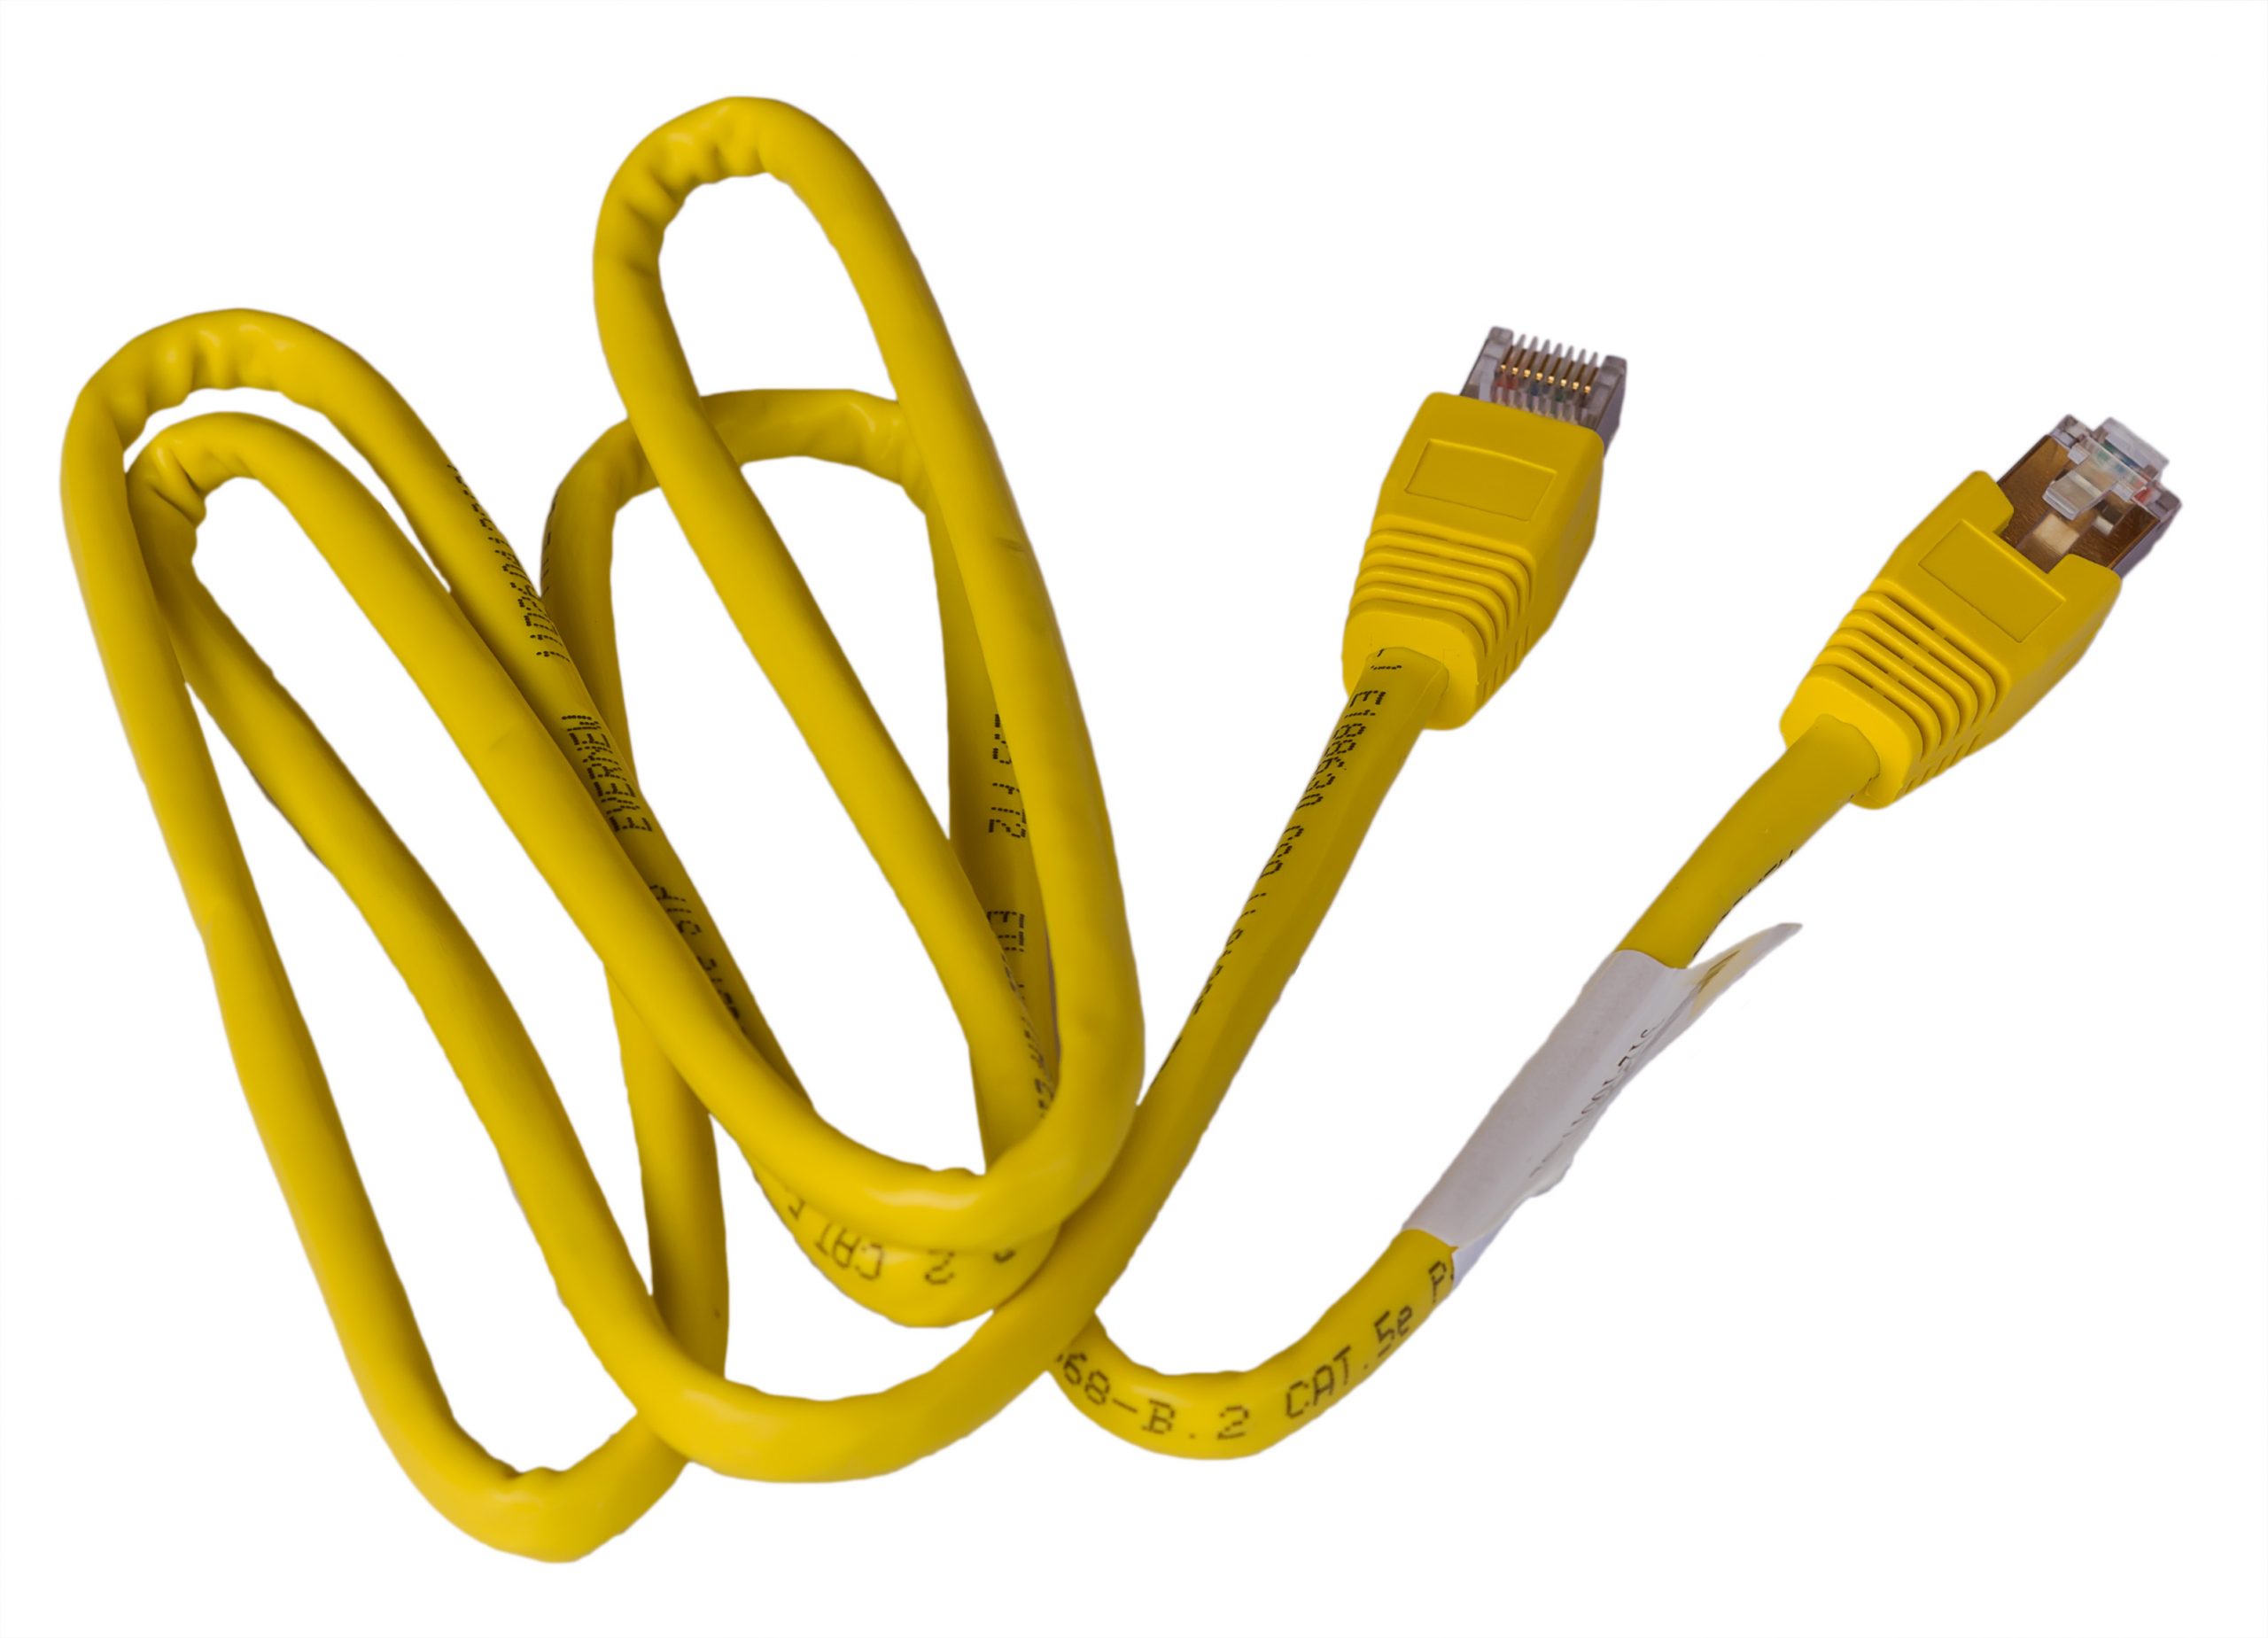
Ethernet Cable Cat 5e
Next follow the documentation and connect to the NAS by typing find.synology.com into your your browser. It should find your Synology Diskstation and you can continue to install the operating system. After the first login, you have to set up the volume. For our example of a 2 bay NAS, we will choose either a RAID1 or a Synology Hybrid RAID (SHR). Both systems allow us to exchange a single broken hard drive as explained above. After that, you should see the volume with its usable capacity in the Storage Manager.
After that, go to Control Panel > Shared Folders. Create a new Folder which will be used to store the time machine data. For “Location” choose the just created Volume. Make sure your Synology user which will be used to make backups is allowed to read and write the folder. When the shared folder is created go to the next menu point “File Services”.
As of 2019 Apple officially switched to SMB instead of AFP as a file protocol for Time Machine. Meaning in “File Services” check “Enable SMB services”. Under “Advanced” make sure the Bonjour service via SMB is enabled and the just created shared folder is chosen as the Time Machine folder.
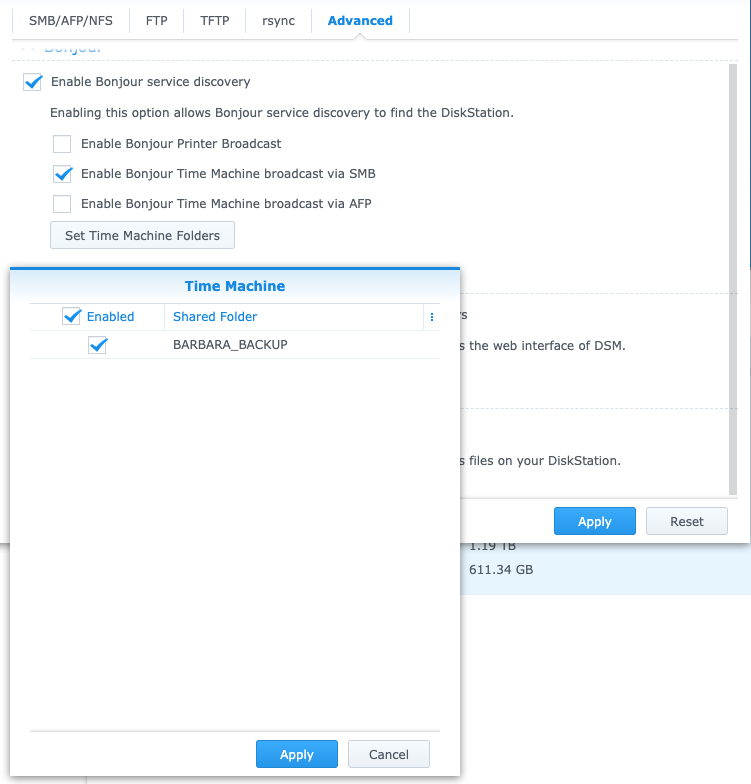
Enable bonjour service – setting time machine folder
Basically that was all the work. In Mac’s Finder you can now connect to your NAS by pressing cmd + K. Type smb://YOURNASIP and use your Synology user to connect to the NAS.
First backup
Now head over to your Mac’s system settings and go to “Time Machine”. By pressing “Select Disk” you should already see your NAS’ shared folder. Select it and make your first Time Machine backup. That was the whole process from A to Z. However to make sure you’re going to be happy in the long run there are some configurations you should consider.
Fixed IP for your NAS
To make sure your Mac always automatically connects to the NAS when it is trying to backup, you should consider adding your Synology’s MAC address to your router and applying a static IP address. This ensures that your NAS is always reachable at the same IP address.
Furthermore you should add the already connected NAS volume to your login items in your Mac’s system settings. This ensures that the Mac always connects to your NAS automatically when booted up.
Searching for older versions of files
One of the gimmicks of Apple’s Time Machine is that you can look for older versions of files. To do so, just look the file up in Finder and click the Time Machine symbol in the menu bar. You will see an easy to navigate interface to scroll through ‘time’ and restore older versions or even deleted files. This is a nice feature that can be useful while using your Mac productively.
Restoring a Mac from Time Machine
Worst case scenario: Data is lost. Whether you lost your Mac or it is just a corrupt hard drive. It can happen, so it will happen. No computer lasts forever, or you simply wanted to buy a newer device. BUT, you were smart enough to read this blog post and behave like a responsible human being. So you have a backup of your machine that is no older than a day. Well done!
Now how do you get your Mac back on track? Firstly, get the same hardware ( or newer ) and make sure it has got at least the same amount of HD space. Now boot it up and press cmd + R until you see the Recovery Mode. In this mode you can see the option “Restore from Time Machine Backup”. Choose this option and make sure you are connected to the same network as your NAS. Now you can connect to it via your Synology user and choose the Time Machine folder as your source of restoration. The restoring of your Mac will take a couple hours presumably, but is a hassle free process.
After finishing the restoration you will have to do some quick steps: Login with your Apple-ID, reenter you Email passwords and login to some of your tools like Dropbox. Thats it: Your Mac is back where you left off with all of your files and programs. Everything should be the way it was before.
Tips and tricks for data availability
I could not live without this type of security. It takes a huge concern off my back and happens everyday automatically whenever I am at home. To go one step further I use Dropbox extensively. At all times I got my Passwords and sensitive data synced over Dropbox and secured bay 1Password. But also ALL my files I need for work or privately are stored in my Dropbox. This allows me to pull up all my documents on my phone and essentially not be lost in limbo whenever I don’t have my laptop with me. Also it allows me to still access all my important data in the case of a Mac malfunction.
iPhone Backup
Backing up your iPhone is best done via iCloud. For up to 32GB storage, you should be fine with Apples free iCloud storage plan. Everything larger than that will need a bit of extra storage in the iCloud. But the advantages are the same: Lost your iPhone? No Problem. Bought a new one? Done in no time.
You can easily restore your old iPhone via iCloud and all your data will be back. This makes buying new devices so much easier. You don’t have to download al the apps again which alone would be time consuming enough.
This method is the perfect supplement for data consistency, now both mobile and on your computer.
Troubleshooting
There are some problems you might come across when setting your Time Machine up this way. I would say 9/10 problems will be network related, Yes, a proper network configuration is a must when using this method. So i suggest get familiar with your router and make sure you or someone you know, actually knows what they’re doing. Since there is a myriad of different modems/routers I cannot go through that process for you. You will have to figure out how to configure the fixed IP address for example. Other than that the process is pretty straight forward and should be easily repeatable.
Weitere Artikel
-
Mehr Umsatz im Onlineshop? Diese Taktiken können helfen!
Ein grobes Modell für eine digitale Marketing-Strategie zur Vermarktung von Schmuck/Edelsteinen über den Onlinehandel.
-
One Step closer to a Clutter free Computer (on macOS)
Windows and Mac users alike, there is a problem that has accompanied computer users since the early ages - messy desktops.
-
The Number 1 App for Mac Power Users
For power users, there is a tendency on computers to find what you are looking for via text search.
-
How to Save Your Passwords on Mac and iPhone with 1Password
Many people still write their passwords on sticky notes or use the same password over and over again for many different sites and logins. Both are pretty bad ways of managing your passwords.
-
Window Management on macOS made easy
One of the most requested features macOS users have been wanting for years now is proper window management.
-
Warum ist meine Wordpress Website so langsam?
Gute Frage - viele mögliche Antworten! Bei Wordpress Websites stellt sich die Frage durchaus am öftesten. Das hat mehrere Gründe.
-
Mein Webdev-Workflow für 2022
Die Tools und Frameworks die ich benutze in kurzer Übersicht: git, gulp, browsersync, ngrok und co.
-
Die besten klimatisierten Spots in Wien zum Arbeiten in 2023
Studien bestätigen: ab einer gewissen Temperatur arbeitet das Hirn nicht mehr effizient. Für Selbständige wie mich, die kein klimatisiertes Eigenheim oder Büro haben ist der heurige Sommer damit eine Katastrophe. Mit dieser Liste will ich allen Wienern die am Laptop zu Hause schwitzen Abhilfe schaffen.